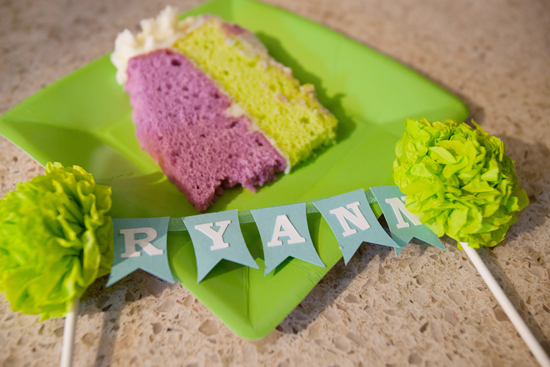
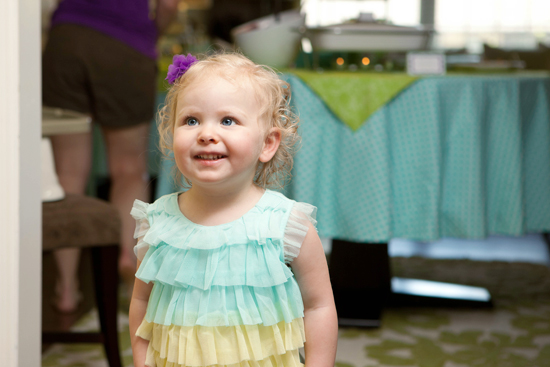
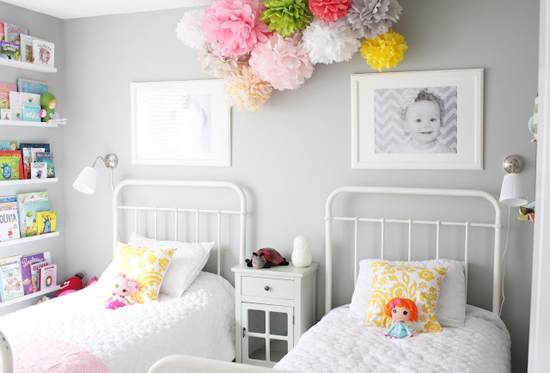
Planning Ryann's party this year was so much fun, mostly because she can vocalize her likes and dislikes, so I felt like I was really planning a party for HER. Obviously she didn't care if I went all out or not, but I could pick foods that she liked, colors she liked, items she liked, it made it all so much more fun. I knew I had to use purple because it is her favorite, even if I despise it, and then I came across this photo on pinterest that sparked my color scheme.
At first I had a hard time picking a theme for the party. There are so many cool circus/carnival/western/princess/etc parties, but Ryann never had a real interest in any of those things on her own, so it seemed silly to plan a party around it. I honestly can't remember what caused me to think 'alphabet', but when I finally decided on it, it was perfect. Ryann learned her letters early on and has loved pointing them out since, so what better thing to incorporate into her party. And it was so easy to make everything fit the alphabet theme. I mean come on, everything starts with a letter :o).
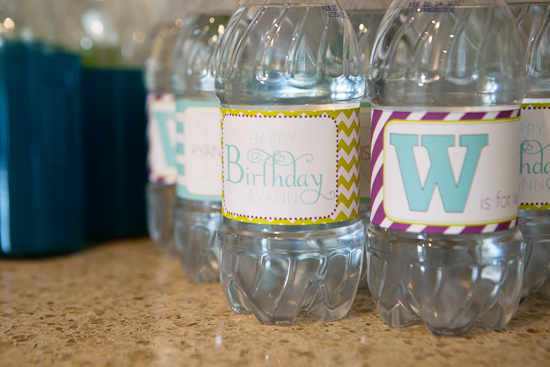
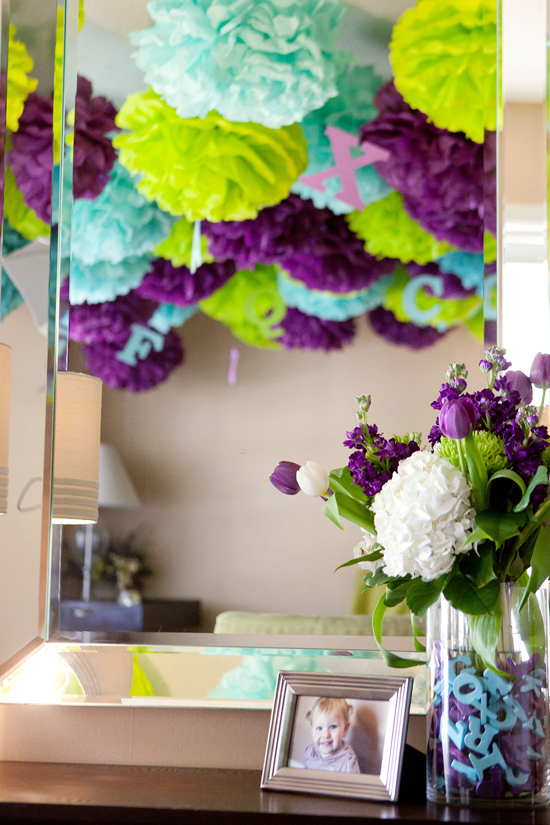
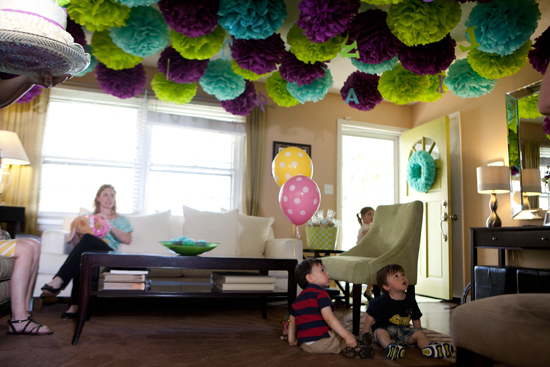
I didn't take the alphabet theme as far as I probably could of, simply because once I saw this party and knew I wanted the tissue poms covering the ceiling, everything else was just a bonus. We (uh, my husband) hung letters that I cut out with my silhouette among the poms. To tie the food into the alphabet theme I just made up food labels emphasizing the first letter of each dish. Oh and did you notice the letters in the flower vase? We found two vases, one a bit smaller than the other. I spray painted the letters to match the party colors and slipped them between the two vases, inspired by this.
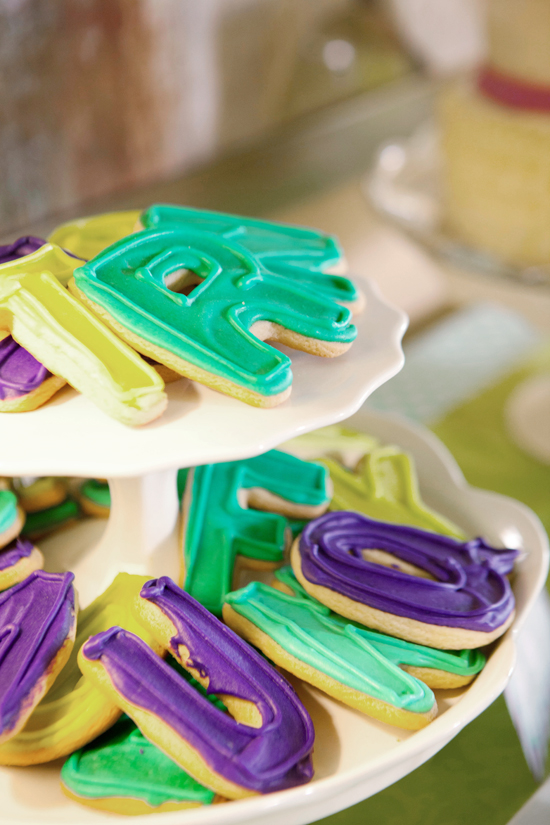
The food was another area that I was aiming to please Ryann with. She loves marshmallows, pretzel rods, m&ms, meatballs and fruit. So that is what we had. Chocolate dipped pretzel rods and chocolate dipped marshmallows. I made these peanut butter m&m bars (so easy and so good in my opinion). Alphabet sugar cookies were ordered from a local bakery. Those also would have been easy enough to do ourselves, but I was trying to keep the prep work minimal after putting together all of the tissue poms. We mixed up this fruit salad. We also served meatballs made in the slow cooker thanks to this recipe (again, super easy). My mom put together some mini macaroni and cheese bites, unfortunately I can't remember what recipe she used. We used alphabet pasta for them, but you couldn't really see the letters when it was all baked together. Also on the menu was hummus with pita slices and veggies, simply because Ryann used to say 'H is for Hummus!' without being prompted.
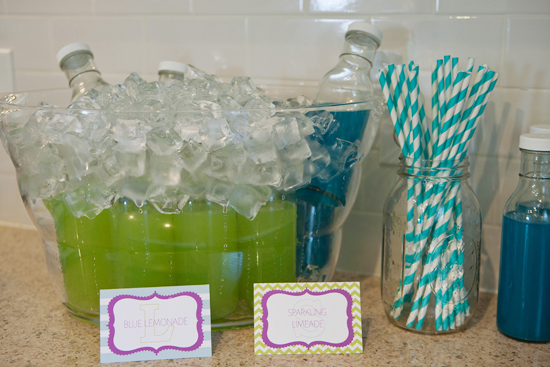
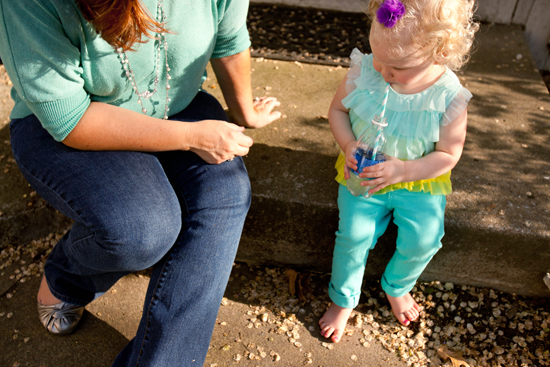
For drinks we made a batch of lemonade and added blue food coloring. The green drink was from this recipe. I purchased the tall glass bottles and straws from here, so many cute things on that site!
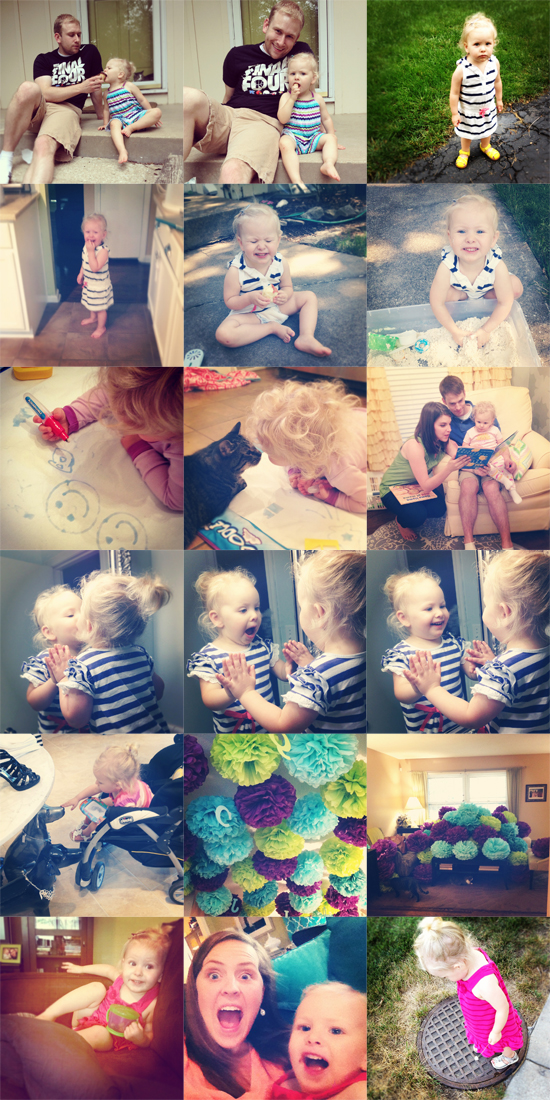
Now lets get back to all the tissue involved in this party. Many many people have asked how we manage to make all those, how long it too, etc. First of all, it was nuts. It took a LONG time to make all those tissue poms. I believe my mom and I made almost 100. I honestly don't know how long it took, because we started in January. Yes, January (the party was March 31st). We had all the poms folded and trimmed by the week before the party. And then I spent the week before the party fluffing them all (with again, a little help from my mom and some friends). We stacked all the poms in my guest room during the week and hung them the night before the party. It took my dad and Christopher about an hour to hang all the poms. We used clear thumbtacks to attach them to the ceiling. As much work as they were, I still love them. Seriously, once they were all hung I couldn't stop jumping around all giddy like because the room looked awesome. The only downfall was that they kept light from reflecting off the white ceiling, so our house with terrible lighting had even worse lighting for the party. But I still loved them. So much so that they stayed up for three months...
My sweet mother made a million little tissue poms as well. The wreath on the front door was made with this tutorial, and the giant R on the mantel was made with this tutorial. However she started with the R, and was following the directions for tissue size on that tutorial, and then after making a few poms following the tutorial on the wreath realized those poms looks much better. So I would suggest cutting your tissue to the size described in the wreath tutorial. Oh and I ordered all the tissue from Nashville Wraps. Lots of pretty colors there.
oh hey Soph... creeper...
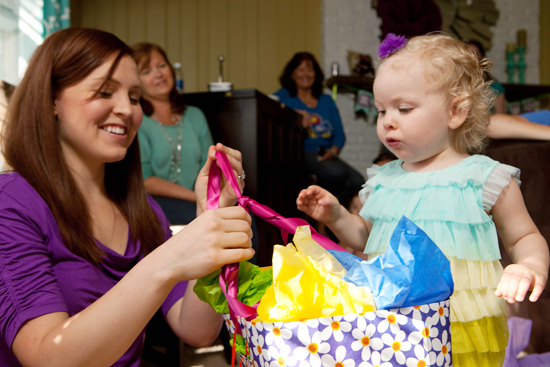
I forgot to make sure a good picture was taken of the favor bags, so the one above will have to do for reference. I happened to come across these aqua paisley gift bags at a local paper store that was going out of business. They matched the colors perfectly! I used the silhouette to cut out our little guests' first initials and glued them to the bags. Inside were alphabet crayons (a good tutorial here), alphabet stickers and an alphabet puzzle I found at the dollar store. For all of our adult guests we had bags of trail mix we put together. In there were some little alphabet cookies I also spotted at the dollar store. I was impressed with the taste for dollar store cookies.
I think that just about covers everything. Well actually, what is missing is the invitations. Currently I can't locate my extras to take a picture. I seriously can't figure out for the life of me where I put them. But when I do I will share, because I loved them.
All photos (besides my crappy iphone pic of course) were taken by the lovely Adrienne Maples, but edited by yours truly. So if the editing looks like crap definitely don't judge Adrienne!


