Now I'm terrible at executing crafts. My glitter letters probably won't last all that long, because who knows if I really did it right. And I should have spray painted the letters before I glittered them. Then you wouldn't see any of the wood spots that I missed. But whatever. The banner makes me happy and I actually crafted. That is a success right?
For this project you will need...
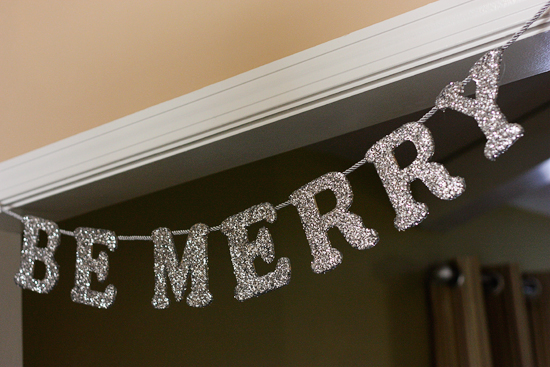
- 4 inch wooden letters (.99 for a pack of two at Hobby Lobby*)
- modge podge (school glue could probably work)
- glitter
- a paint brush of some sort (to spread on your modge podge)
- a bowl to put some modge podge in (because you will definitely get glitter in that stuff)
- wax paper or some sort of surface to work on (to collect the extra glitter)
- clear acrylic spray sealer
- decorative cording
- hot glue gun
Really this project is very easy. The short version? Put glue (modge podge) on letters, dump on some glitter, spray them with sealer, glue the to cording, hang and enjoy.
I would definitely suggest pouring a little modge podge in some sort of bowl. I didn't, and glitter got on my brush, therefore glitter inevitably got in my modge podge. I'm hoping that isn't a problem for future craft projects! Also, the paint brush I used was different than the one pictured above... when I went to start dumb me realized that brush wouldn't fit in the opening of the bottle. Only reason I switched :o).
The semi longer step by step instructions:
- I didn't do this, but I would suggest spray painting the letters in whatever color glitter you plan to cover the letters in. My letters look fine, but there are some spots where the glitter didn't exactly cover, and the spray paint would have helped.
- Working one letter at a time, cover the front and sides in modge podge.
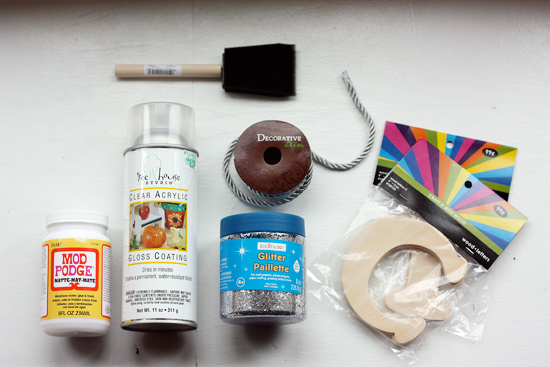
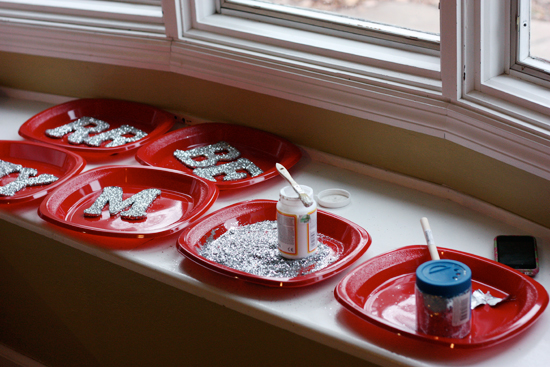
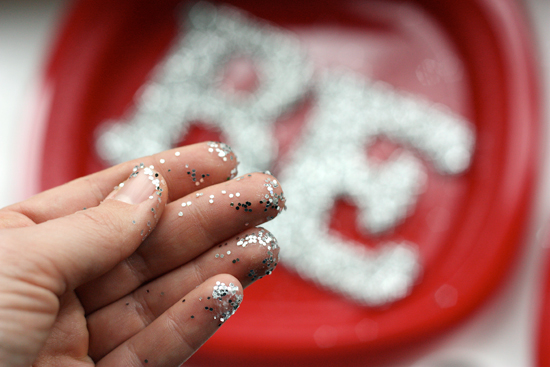
- With the letter on wax paper or a paper plate, cover all the modge podge with glitter. Let sit for a minute or so to set up.
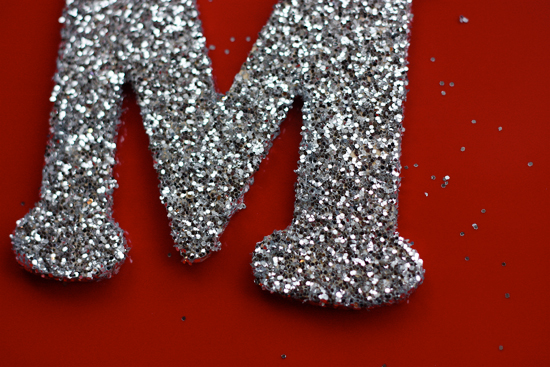
- Tap off excess glitter. Modge podge and re-glitter any spots that are sparse.
- Repeat steps 2-4 with the rest of your letters. Let them set up for a little while, so the modge podge is dry.
- In a well ventilated area, cover the letters with clear acrylic sealer. This will help hold the glitter on (although while gluing my letters to the cording I still got glitter everywhere, who knows. It seems like it should help.).
- You're supposed to let the sealer dry for 24 hours, I didn't (possibly the reason I had issues, whoops). Once the sealer is dry, attach the letters to your cording with hot glue.
- Hang banner in your desired location and enjoy!

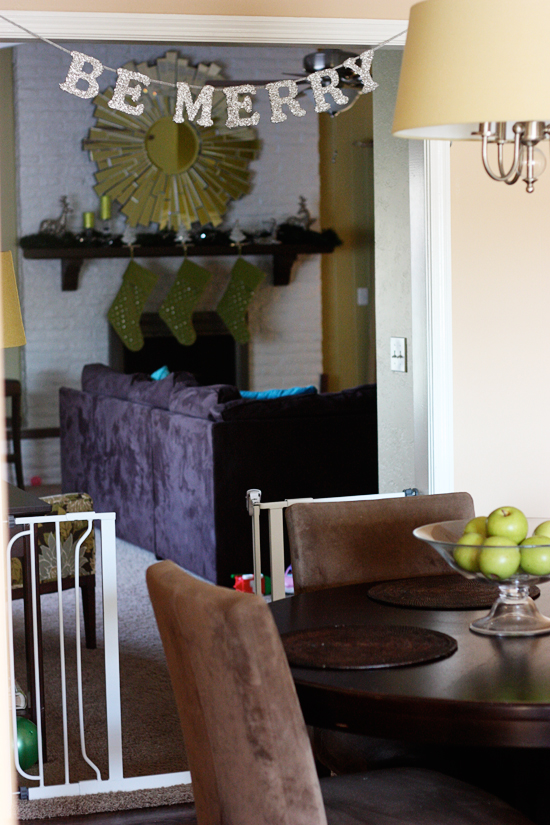
My banner is in kind of a tough spot to get a good overall picture, but it really makes me happy to have those glitter letters greeting me every time I make a trip into the family room.
This was a fun little project that allowed me to destress during nap time on a semi crappy day. And it would be super easy to make for lots of different occasions. I may or may not make one for Ryann's birthday party! Really, I have no idea what I'm going to do for that party. Can someone please come up with a fun color scheme for me? That would help! Ha ha.



6 comments:
Love it! When is Ryann's birthday? For Harper's I was GOING TO do a winter wonderland theme with aqua blues, silver, white and bright pink colors. Then I got all lazy and didn't do a theme at all! (bad Mommy, bad, bad!) Pinterest had a ton of cute ideas for a winter wonderland theme party for kids. But if her birthday isn't during the winter that would be silly.
ooh i love it! glitter makes me happy too! it would be so perfect for a birthday party!
Very cute and pretty! Good job!
So cute! I hear Hobby Lobby calling my name!
ah it is sooo pretty! i adore it~
Adorable! I firmly believe glitter makes the world a happier place :)
ps-I was trying to subscribe to your blog and when I hit your subscribe button it brought me to a really weird page?! Just wanted to give you a heads up :)
Post a Comment